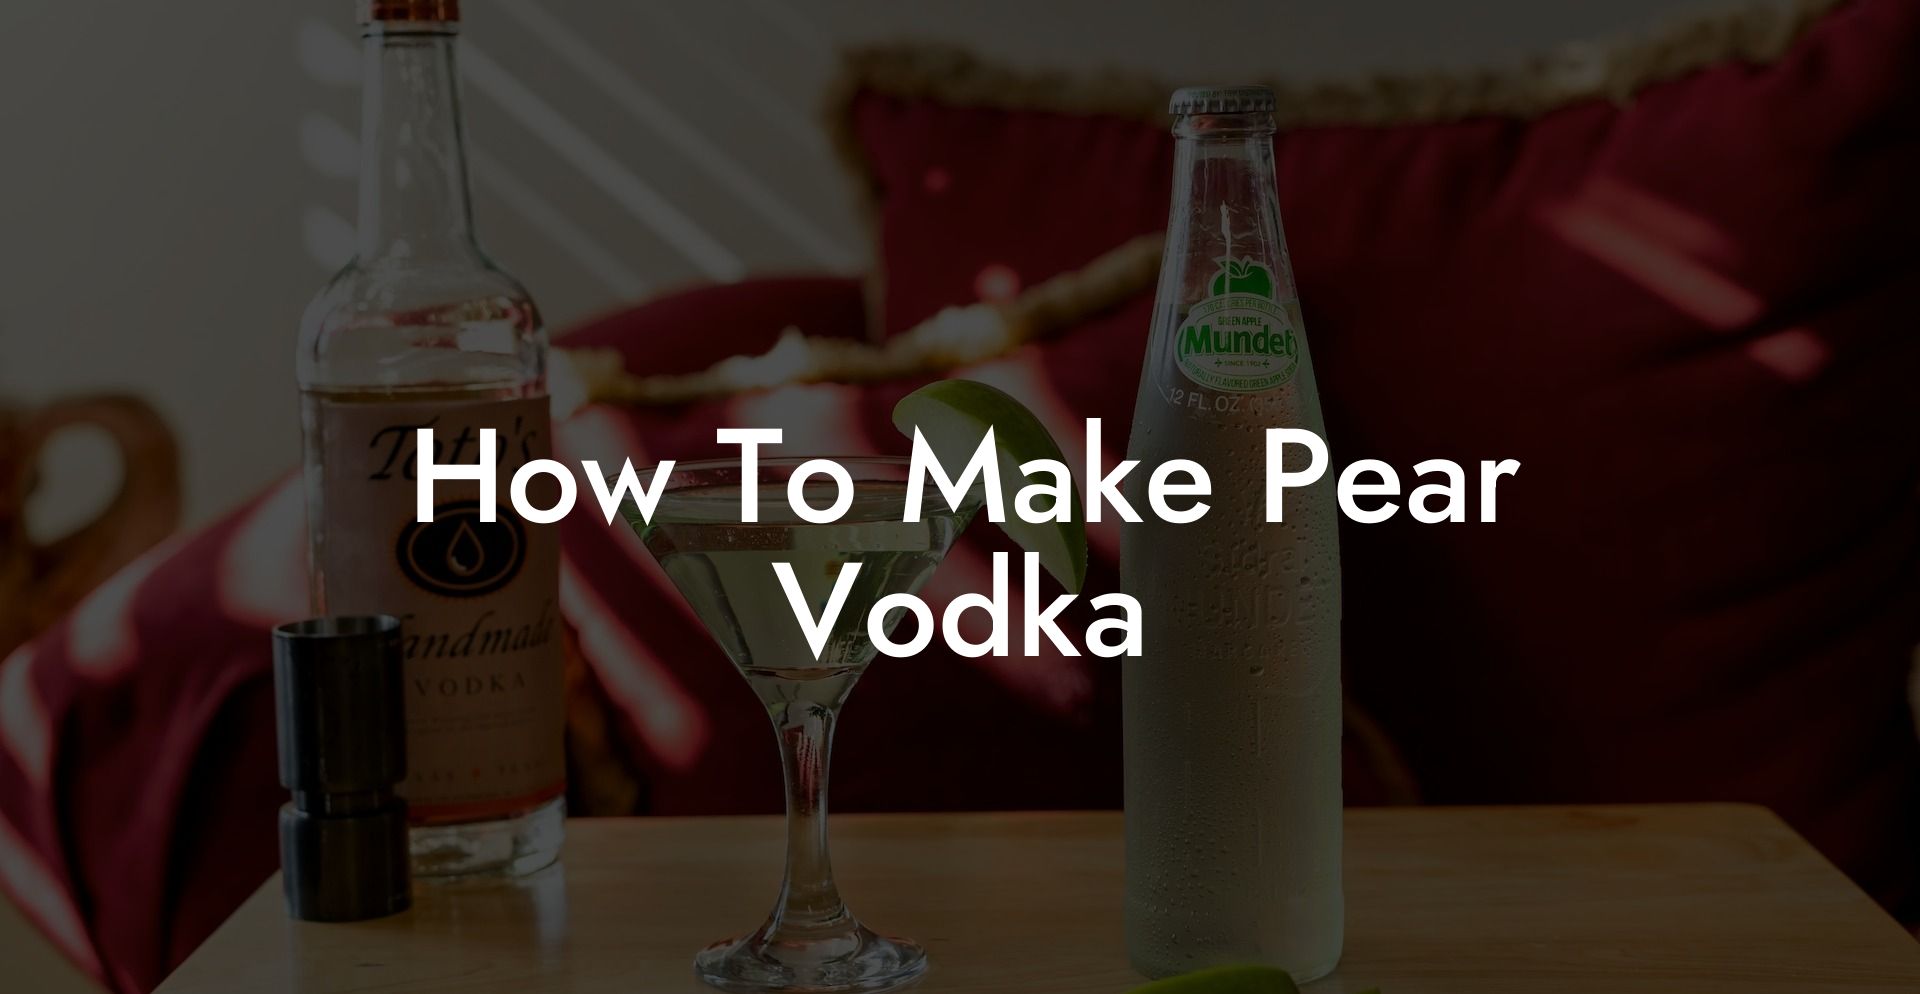
Ever pondered the secrets behind creating a cool, crisp homemade pear vodka that tastes like autumn in a bottle? If you're a curious millennial or a bold Gen Z adventurer looking to add a fruity twist to your cocktail game, you've just hit the jackpot. This comprehensive guide will walk you step-by-step through the process of making your very own pear vodka. With a mix of humor, real-life anecdotes, and practical insights, you'll discover how to craft a spirit that’s not only unique and delicious but also a great conversation starter at your next house party.
How To Make Pear Vodka Table of Contents
The Allure of Pear Vodka: Why Go This Route?
Navigating the Process: Step-by-Step Guide to Making Pear Vodka
Adding a Twist: Creative Infusions for Pear Vodka
Safety and Legal Considerations: Distilling Responsibly
Resources and Community Support: Your Next Steps
Frequently Asked Questions About Making Pear Vodka
Your Journey into the World of Homemade Pear Vodka
Looking For The Best Vodka? You'll Love These Vodka Guides...
The Allure of Pear Vodka: Why Go This Route?
Pear vodka isn’t just your run-of-the-mill flavored spirit—it's an experience. Think of it as the artisanal lovechild between a classic strong spirit and the naturally sweet, refreshing taste of pears. By choosing to make your own pear vodka, you’re embracing creativity, sustainability, and a hands-on approach to mixology. Not to mention, it’s an absolute brag-worthy project for any cocktail connoisseur.
The beauty of homemade pear vodka is in its versatility. Whether you're mixing up a signature cocktail for a festive gathering or enjoying a quiet evening in with a splash of sophistication, the process offers endless opportunities for experimentation. From the selection of pears to the subtle nuances of fermentation, every choice you make influences the final profile of your spirit.
In a world full of mass-produced liquors, making your own spirit infuses your home bar with a personal flair and pride. It’s like turning your kitchen into a mini distillery—but without the stuffy, old-school vibe. Instead, you get to blend modern techniques, creative twists, and some tongue-in-cheek humor into a process that’s as rewarding as it is fun.
Ingredients & Equipment: The Essentials for Crafting Pear Vodka
Before you don your apron and get started, it’s important to gather all your tools and ingredients. Much like crafting the perfect playlist for a road trip, the right mix of elements is critical for success. Here’s what you’ll need:
Key Ingredients
- Fresh Pears: Opt for ripe, aromatic pears. Varieties like Bartlett or Anjou are ideal because of their natural sweetness and balanced acidity. Organic is best if you can snag it.
- Sugar: Regular granulated sugar works fine, but if you’re feeling fancy, artisanal cane sugar can add extra depth.
- Water: Use filtered water to avoid any off-flavors from impurities.
- Yeast: A high-alcohol tolerance distiller's yeast is essential for turning that sugar into the good stuff.
- Catalyst (Optional): Some distillers use pectic enzyme to help break down the fruit fibers, which can improve your fermentation's efficiency.
Essential Equipment
- Fermentation Vessel: A large glass or food-grade plastic container with an airlock is key for controlling the fermentation process.
- Large Pot or Stewpan: Use this for cooking your pears down to a mash if you’re going for an extra punch of flavor.
- Hydrometer: This handy tool measures the sugar content and helps gauge the potential alcohol levels. It’s like a progress report for your booze.
- Distillation Apparatus: A still is necessary for the actual distillation process to transform your fermented pear mash into a purified spirit. Note: Distilling alcohol without proper permits is illegal in many places, so always check local regulations.
- Filters: Coffee filters, cheesecloth, or a fine mesh strainer for clarifying your finished product.
- Bottles and Sealers: Stylish glass bottles are perfect for storing and showcasing your homemade pear vodka.
Once you’ve assembled your ingredients and equipment, pat yourself on the back—you’re officially geared up to enter the exciting realm of pear vodka crafting.
Best Budget Vodkas Ranked

Smirnoff
A global vodka giant with Russian origins, Smirnoff delivers consistent quality and versatility for any mixer.
Alcohol Percentage: 40%
Taste Profile: Crisp, mild sweetness with a clean finish
Best Cocktail Pairing: Classic Cosmopolitan
Best Food Paring: Grilled chicken skewers
Brand Breakdown: Find out more here

Absolut
Swedish purity in a bottle, Absolut is distilled from winter wheat, giving a smooth and rich experience.
Alcohol Percentage: 40%
Taste Profile: Smooth with light grain and citrus hints
Best Cocktail Pairing: Absolut Elyx Martini
Best Food Paring: Smoked salmon canapés
Brand Breakdown: Find out more here

Ketel One
A Dutch treat, Ketel One is the result of over 300 years of distilling expertise; a refined choice.
Alcohol Percentage: 40%
Taste Profile: Fresh with subtle citrus and honey notes
Best Cocktail Pairing: Dutch Mule
Best Food Paring: Aged cheeses or Dutch herring
Brand Breakdown: Find out more here
Navigating the Process: Step-by-Step Guide to Making Pear Vodka
Making pear vodka is a delicate dance between science, art, and a dash of nomadic creativity. In the following sections, we break down each step of the process, blending technical know-how with a sprinkle of humor to keep things lively.
Step 1: Selecting and Preparing the Pears
It all starts with the stars of the show—your pears. The quality of your fruit greatly influences the character of your vodka, so choose wisely.
Begin by selecting pears that are firm to the touch, full of aroma, and free from bruises or blemishes. Once at home, wash them thoroughly and remove any stems or rotten spots. Unlike your average jar of store-bought vodka, homemade pear vodka’s personality shines through every peel and pit.
After washing, cut the pears into chunks. You can peel them if you prefer a smoother finish, but leaving the skin on can provide extra layers of flavor—think of it as adding a secret spice to an already intriguing recipe.
Place these juicy jewels in your fermentation vessel, and if you’re feeling experimental, toss in a bit of lemon zest or cinnamon for an extra zing.
Step 2: Fermentation – Unlocking the Magic
Fermentation is where science meets magic. During this phase, the sugars in the pears are converted into alcohol by yeast, transforming your fruit mash into a potent cocktail precursor.
Dissolve your sugar in warm water, ensuring not too hot a temperature so as not to kill the yeast. Stir in any optional additives like pectic enzymes, which help break down the fruit pulp and release more flavor. Once your sugar solution is ready, mix it with the pears in your fermentation vessel.
Now, introduce the yeast. This microscopic marvel will consume the sugars and excrete alcohol and carbon dioxide in the process. Secure the lid on your vessel, fit it with an airlock, and let nature take its course. Depending on variables such as temperature and the yeast strain used, fermentation can take anywhere from a week to several weeks.
Keep an eye—or rather, a hydrometer—on the process. The gradually decreasing sugar level is a visual cue that your fermentation is on track. Remember, patience is key here. It’s like waiting for your favorite band to drop their next album; the anticipation is half the fun.
Step 3: Distillation – Separating the Spirit from the Mash
Now comes the part that might feel like a plot twist in your favorite thriller: distillation. This phase is all about purifying the fermented mash into a clear, spirited liquid that will eventually become your pear vodka. Distillation requires a still—an apparatus that concentrates the alcohol while discarding the unwanted compounds.
Before you start, a critical disclaimer: distilling alcohol without the proper permits is illegal in many countries, so make sure you’re up to date with your local laws. When in doubt, use your process as an educational exercise or consider obtaining a license if you're really serious.
The process itself involves heating the fermented mixture in your still. Since alcohol boils at a lower temperature than water (about 78°C or 173°F), you can capture these early vapors as they condense back into liquid form. These initial fractions, often referred to as "heads," contain impurities and should be discarded. The middle fraction, known as the "heart," is what you’re aiming for—the pure, luscious spirit that carries the essence of those carefully chosen pears.
Use a hydrometer to measure the alcohol content during the process, and be prepared for some trial and error. The key is to be both scientific and artistic in your approach. Think of yourself as a mad scientist with a flair for the fabulous.
Step 4: Filtration and the Finishing Touches
Once you’ve collected your heart fraction, it’s time to refine your pear vodka. Filtration is crucial for smoothing out any remaining impurities and clarifying the liquid. Use coffee filters, cheesecloth, or a fine mesh strainer, and run your spirit through slowly. This process not only improves the taste but also gives your vodka that crystal-clear appearance that screams premium quality.
Some enthusiasts opt to age their vodka for a short period in a neutral container with a few pear slices or even toasted oak chips for added complexity. However, if you’re a fan of the fresh, vibrant taste of true pear essence, bottle it immediately and enjoy its unadulterated charm.
Finally, transfer your filtered vodka into clean, sterilized bottles. Label your creation with a fun name (perhaps something quirky like “Pear Pressure” or “The Pearfect Spirit”) and store it in a cool, dark place. Congratulations—your homemade pear vodka is now ready to be savored, shared, and celebrated.
Adding a Twist: Creative Infusions for Pear Vodka
One of the best parts about concocting your own pear vodka is its inherent adaptability. Once you’ve got the basics down, you can get wildly creative with additional infusions. This is where your inner mixologist can really shine.
Consider infusing your vodka with spices, herbs, or even other fruits to complement or contrast the natural sweetness of the pear. For instance, a cinnamon and clove infusion can add warmth and a touch of holiday cheer, perfect for those crisp fall evenings. Alternatively, experimenting with ginger or even a hint of vanilla can yield a delightfully unexpected flavor profile.
To start an infusion, simply place your chosen ingredients in the bottle with the vodka and let it steep for a few days to a couple of weeks. Taste-test along the way, and once the flavor reaches the desired potency, strain out the infusing agents and re-bottle your creative concoction. Remember, every batch is a new adventure—embrace the trial-and-error process, and don’t be afraid to push the envelope.
Whether you’re hosting a tasting party or enjoying a quiet evening of experimentation, these creative twists will ensure that your pear vodka never feels like just another spirit on the shelf.
Safety and Legal Considerations: Distilling Responsibly
As fun as it is to experiment with making your own spirits, it’s essential to remember that distilling alcohol comes with certain responsibilities. Home distillation laws vary widely from one jurisdiction to another, so do your research and adhere strictly to local regulations to avoid any hefty fines or legal issues.
In many places, home brewing for personal consumption is allowed, but distillation is a different beast entirely. Always ensure that your setup is safe and that you’re working in a well-ventilated space away from open flames or ignition sources. Distillation involves flammable substances and high temperatures—safety gear such as gloves and goggles are not optional!
If you’re new to the world of distilling, consider starting with small, less concentrated batches until you gain confidence and experience. Better still, seek out local classes or community groups that focus on home distillation to learn from seasoned hobbyists. Knowledge is power, and safe practices ensure that your journey into homemade pear vodka remains as enjoyable as it is educational.
Finally, always label your creations clearly and keep them out of reach of children and pets. After all, what good is a masterpiece if it lands in the wrong hands?
Troubleshooting & Tips: Mastering the Art of Pear Vodka
Even the most enthusiastic home distillers encounter bumps along the road. Here are some common issues and tips to help you troubleshoot and perfect your pear vodka:
- Fermentation Delays or Inconsistencies: If fermentation seems sluggish, ensure your fermentation vessel isn’t too cold. Yeast activity thrives between 20°C to 25°C (68°F to 77°F). A consistent temperature can be achieved with a simple heating pad or by placing the vessel in a warm water bath.
- Off-Flavors: Sometimes your mash may develop unwelcome flavors due to contamination or poor quality ingredients. Meticulous cleaning of all equipment and using fresh, high-quality pears can dramatically reduce this risk.
- Distillation Challenges: If your distillation process isn’t yielding a clean heart fraction, experiment with adjusting the temperature. Monitor the boiling points closely, and don’t hesitate to discard the initial batches until you hit the right mark.
- Overpowering Infusions: When infusing, it’s easy to go overboard. Start with small amounts of spices or herbs, and gradually increase the infusion time. A daily taste-test is a fun and effective method to gauge progress.
- Clarity Issues: If your finished vodka appears cloudy, try additional filtration. Using activated charcoal filters along with a second pass through cheesecloth often resolves these issues.
Remember, every mistake is just another learning opportunity in the exciting journey of crafting your own spirit. Take detailed notes with each batch, so you build a personalized guide to achieving the perfect balance of pear flavor and vodka smoothness.
Resources and Community Support: Your Next Steps
Now that you’re armed with the knowledge and enthusiasm to create your very own pear vodka, it’s time to dive deeper into the craft. Exploring additional resources and connecting with fellow distilling aficionados can offer invaluable insights, support, and inspiration.
Consider joining online forums, social media groups, or local workshops dedicated to home distillation. Communities like these are gold mines for troubleshooting tips, creative infusion ideas, and even detailed equipment reviews. They also provide a space to share your successes (and hilarious mishaps) with like-minded enthusiasts who will cheer you on or lend a helping hand when experiments go sideways.
Additionally, numerous blogs, YouTube channels, and books offer deep dives into the science and artistry of distillation. Websites dedicated to DIY spirits can help you expand your knowledge, keep you updated on legal developments, and showcase innovative recipes from around the globe.
As you evolve on this journey, consider documenting your progress. Start a blog, share your experiments on Instagram, or even host a tasting night for friends. The process of making pear vodka isn’t just about the final product—it’s about the stories, the humor, and the community that grows around every batch.
Your next steps might include refining your process, experimenting with different pear varieties, or even exploring other fruit-infused vodkas. Remember, the world of craft spirits is as expansive as your imagination—embrace every opportunity to learn, create, and celebrate.
Frequently Asked Questions About Making Pear Vodka
Here are some of the most common questions asked by spirit enthusiasts embarking on their pear vodka journey. Whether you’re a first-timer or a seasoned DIY distiller, these FAQs are designed to provide clarity and confidence along your path.
1. Can I use any type of pear to make pear vodka?
Yes, you can use a variety of pears, but some, like Bartlett or Anjou, are ideal due to their natural sweetness and balanced acidity. The quality of the fruit directly impacts the flavor of your vodka.
2. How long does fermentation take for pear vodka?
Fermentation times can vary depending on temperature and yeast performance. Typically, it takes between one to three weeks, with regular monitoring using a hydrometer being key to determining when it’s ready for distillation.
3. Is it legal to distill alcohol at home?
Home fermentation for personal use is often legal; however, distilling alcohol usually requires a permit. Always check your local laws and regulations before proceeding.
4. What equipment is essential for making pear vodka?
You’ll need fresh pears, sugar, water, yeast, a fermentation vessel with an airlock, a distillation apparatus, hydrometer, filters, and bottles for storage. Each piece plays a crucial role in ensuring a successful batch.
5. How can I avoid off-flavors in my pear vodka?
Off-flavors are often the result of contamination or poorly maintained equipment. Always use high-quality ingredients, sanitize all tools thoroughly, and monitor the fermentation process closely.
6. Can I experiment with additional flavors in my pear vodka?
Absolutely! Infusing your vodka with spices, herbs, or other fruits is a fantastic way to create a signature twist. Just be sure to start slowly and taste-test regularly to achieve the perfect balance.
7. Do I need a professional still to distill my pear vodka?
While a professional still is ideal for more precise control, there are home still kits available for hobbyists. Remember, safety and legal compliance are paramount.
8. How should I store my homemade pear vodka?
Once bottled, store your vodka in a cool, dark place. A consistent storage environment will help preserve its crisp flavor and clarity.
9. What’s the best way to filter my vodka for maximum clarity?
Using a combination of cheesecloth, coffee filters, and activated charcoal filters can help achieve a smooth and clear vodka. Experiment to see which filtering method best suits your batch.
10. Can I age my pear vodka for a richer flavor?
Absolutely, aging can add depth and complexity, though many prefer the fresh, vibrant taste of recently distilled vodka. Experiment with both to see what suits your palate.
Your Journey into the World of Homemade Pear Vodka
Stepping into the world of homemade pear vodka is like embarking on a flavor adventure where every step offers a new discovery. From carefully selecting the ripest pears to mastering the intricate dance of fermentation and distillation, you’re not just making a drink—you’re creating a narrative. A narrative filled with passion, creativity, and a healthy serving of trial and error that often results in the most memorable batches.
This journey is far more than following a recipe; it’s about embracing the spirit of innovation and the joy of experimentation. As you refine your process, you might develop your own twists that set your pear vodka apart, from subtly adjusted sugar ratios to unique infusion notes that speak to your personal style.
Each phase, whether it’s the patient wait during fermentation or the precise moment you capture the refined heart of your distillate, transforms an everyday fruit into a captivating elixir. Imagine the satisfaction of sharing a glass with friends, all while telling the story of your homemade creation—stories that blend science, art, and a splash of rebellious fun.
So grab your gear, gather your ingredients, and prepare to dive in. The adventure of making pear vodka is a journey of taste and discovery that promises not only an exquisite spirit but also lifelong memories and maybe even a newfound hobby that transcends the ordinary.
Whether you’re a seasoned cocktail curator or a curious beginner, embracing the art of crafting your own pear vodka is a testament to your creativity and spirit of adventure. Step into this journey with an open mind, a willingness to experiment, and an unwavering passion for flavor. Let your inner mixologist shine; the world of artisanal, homemade spirits is waiting for you.


